

- Insert bootable pendrive and start the PC
- Depending on your PC, keep clicking F2,F8 or F12 to enter boot screen
- On boot screen select bootable pendrive
- You should see this screen:
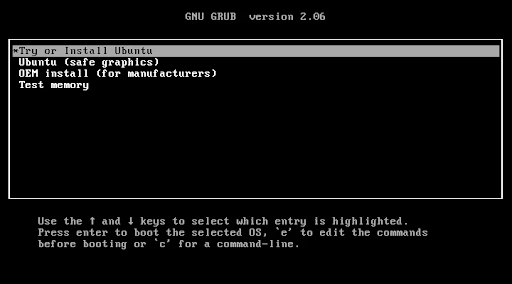
Select first option and click enter
5. Choose Installation Type
In this step, we will be prompted to choose the installation type. Here installation type means the partitioning scheme.
Following are two installation type:
Erase Disk and Install Ubuntu – It will erase the entire disk and will create the partitions automatically.
Something else – To create own customize partition scheme then choose ‘Something else
Choose the option Erase Disk and Install Ubuntu
There will be a popup confirming that the disk will be erased and new partitions will be formed. Click Continue
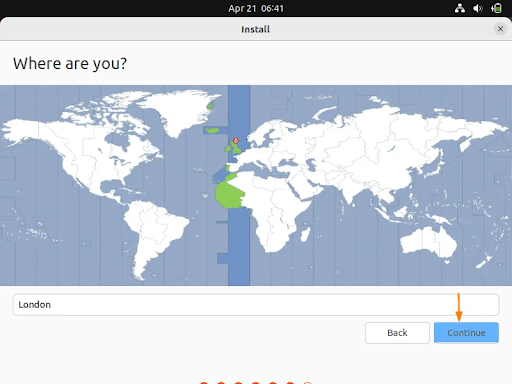
Type Kolkata or click on India then Continue
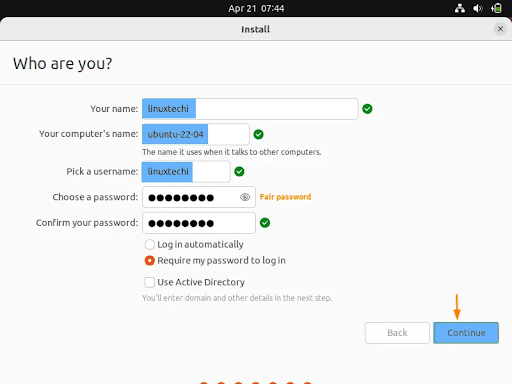
In Your name, enter your first name and surname. In username, enter your desired username. In Your Computer’s name, enter your username or a short name for the computer Keep other options as in photo
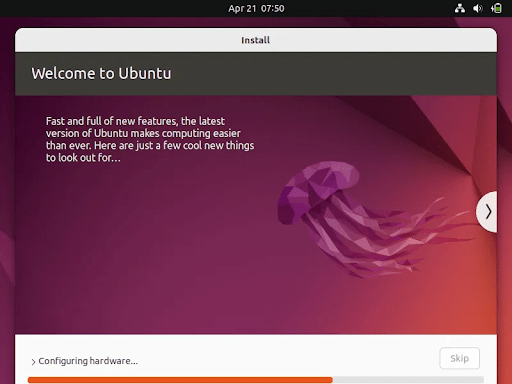
Installation is in progress now. After this step finishes
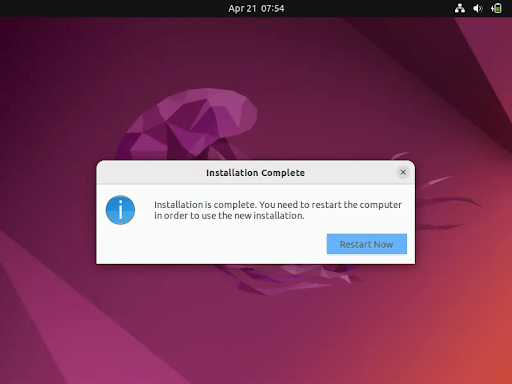
Now remove bootable pendrive and click on Restart Now
6. After Restart, we will now install LAMP. Open terminal (Ctrl+Alt+T). Paste below commands one by one
sudo apt update
sudo apt install apache2
sudo apt install mysql-server
sudo apt install php libapache2-mod-php php-mysql
sudo apt install phpmyadmin php-mbstring php-zip php-gd php-json php-curl
Warning: When the prompt appears, “apache2” is highlighted, but not selected. If you do not hit SPACE to select Apache, the installer will not move the necessary files during installation. Hit SPACE, TAB, and then ENTER to select Apache.
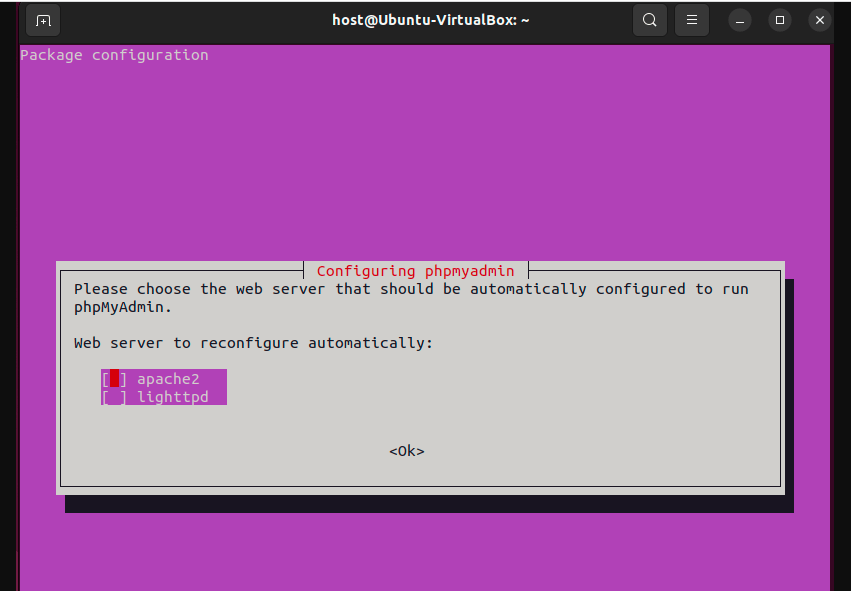
Phpmyadmin installation will ask for password. Set the password as root
After installation is complete, next command:
sudo mysql
ALTER USER ‘root’@’localhost’ IDENTIFIED WITH mysql_native_password BY ‘root’;
flush privileges;
exit;
Now LAMP and phpmyadmin are installed on your PC.
7. Next step, go to Eclipse.org https://www.eclipse.org/downloads/packages/
Search for Eclipse IDE for PHP Developers and click on the package for Linux x86_64
After the download is complete, extract the eclipse folder
On terminal, enter this command:
sudo gedit /home//.local/share/applications/eclipse.desktop Then paste below text in the document:
[Desktop Entry] Version=1.0
Name=Eclipse
Comment=Java IDE
Type=Application
Categories=Development;IDE;
Exec=/home//Programs/eclipse/eclipse
Terminal=false
StartupNotify=true
Icon=/home//Programs/eclipse/icon.xpm
Name[en_US]=Eclipse
Change the Exec and Icon path to match eclipse folder path on your machine then save and close the document
Now you can search for Eclipse in apps and can add it to favorites.
Configure CodeIgniter 4 on Ubuntu
Step 1 – Enable extensions using the following command
sudo apt-get install php8.0-intl
sudo apt-get install php8.0-mbstring
Step 2 – Copy Project to root folder
Computer/var/www/html/eclipse
Step 3 – Set the base URL in the application/config/app.php file with any text editor.
$config[‘base_url’] = ‘http://localhost/eclipse/projectname’;
step 4 – Set Database in cofig/app/database.php
‘hostname’ => ‘localhost’,
‘username’ => ‘root’,
‘password’ => “,
‘database’ => ‘database_name’,
‘dbdriver’ => ‘mysqli’,
Step 5 – Make changes in .htaccess.
Which is located at project folder/.htaccess
mod_rewrite Enable in Apache Ubuntu
Step 1 – Install Apache 2
sudo apt-get update
sudo apt-get install apache2
Step 2 – Enable mod_rewrite Apache By a2enmod Command
sudo a2enmod rewrite
Step 3 – Allow .htaccess File for VirtualHost
sudo gedit /etc/apache2/sites-available/000-default.conf
Then you need to add this “AllowOverride All” in your VirtualHost configuration file like below
Options Indexes FollowSymLinks
AllowOverride All
Require all granted
Step 4 – Restart Apache 2
sudo systemctl restart apache2